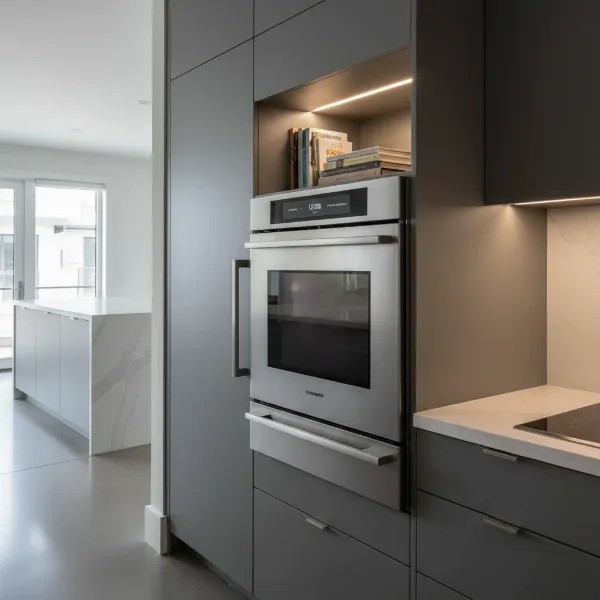
Few things are as frustrating in the kitchen as an oven door that refuses to seal properly. You’ve prepared your ingredients, preheated the oven, and just as you’re about to slide in your culinary creation, the door springs open or simply doesn’t shut flush. This isn’t merely an inconvenience; a loose oven door can lead to unevenly cooked food, wasted energy, and even potential safety hazards. But don’t despair! Many common issues preventing your oven door from closing tightly can be diagnosed and fixed with a bit of DIY effort. This guide will walk you through identifying the problem and providing step-by-step solutions to get your oven back to perfect working order.
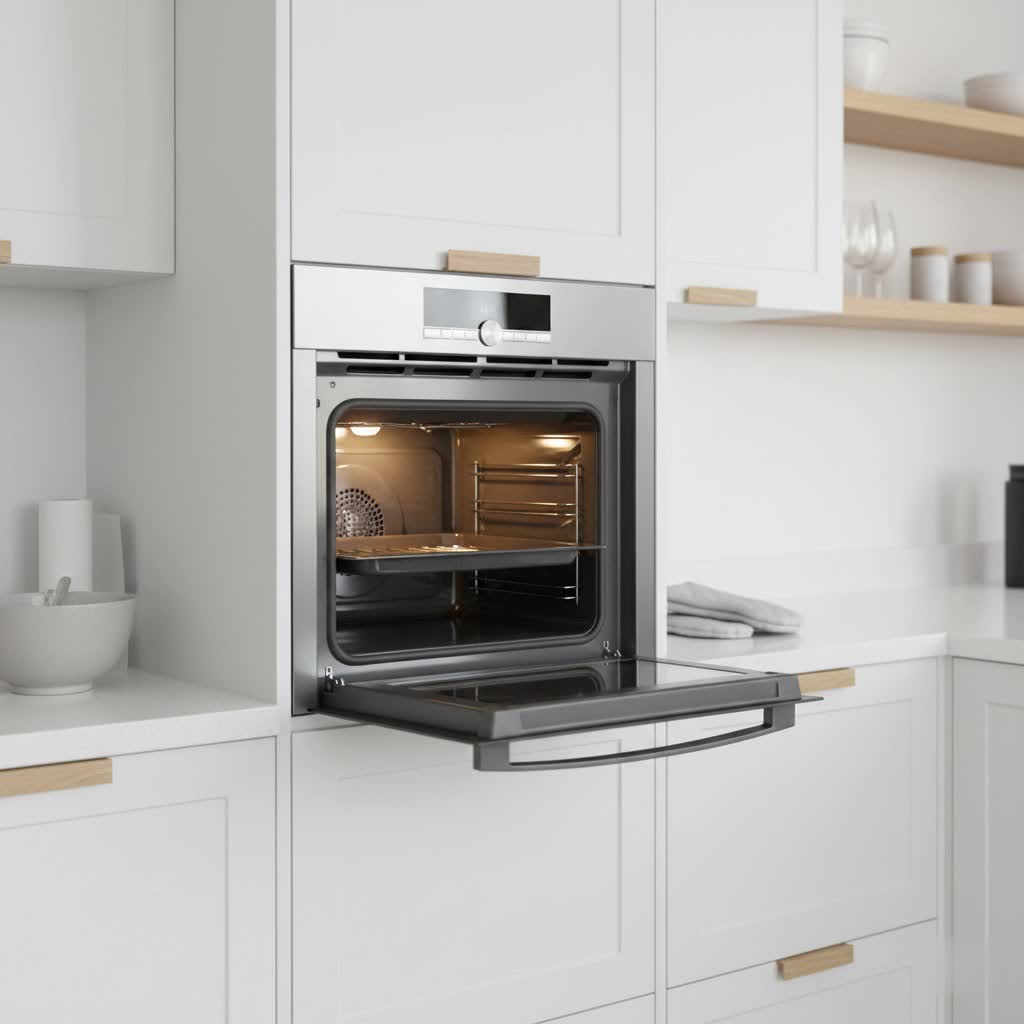
Understanding Why Your Oven Door Won’t Stay Closed
An oven relies on a tight seal to maintain consistent temperatures and cook food efficiently. When the door doesn’t close all the way, heat escapes, impacting cooking performance and driving up your energy bills. Identifying the root cause is the first step toward a successful repair.
Common Culprits Behind a Loose Oven Door
Several issues can prevent an oven door from closing securely, ranging from simple fixes to more complex component replacements.
- Worn or Damaged Door Gasket (Seal): The gasket, typically made of rubber or silicone, forms a crucial seal around the oven cavity. Over time, it can become brittle, torn, twisted, or caked with food debris and grease, preventing a tight closure.
- Faulty or Misaligned Hinges: Oven door hinges endure significant wear and tear. They can become bent, loose, rusty, or simply fatigued, causing the door to sag, wobble, or fail to pull shut completely. The springs within the hinges, if weakened, can also reduce the closing force.
- Obstructed Door Frame or Latch: Sometimes, the problem is as straightforward as debris, grease buildup, or even a protruding oven rack preventing the door from fully engaging with the oven frame or its latch mechanism.
- Broken or Stuck Latch Mechanism: Many modern ovens, especially those with self-cleaning functions, feature a locking latch. If this mechanism is stuck, bent, or broken, the door may not close or latch correctly.
- Warped Oven Door or Frame: Less common but more serious, extreme heat or damage can warp the oven door itself or the oven frame, making a proper seal impossible.
|
Our Picks for the Best Oven in 2026
As an Amazon Associate I earn from qualifying purchases.
|
||
| Num | Product | Action |
|---|---|---|
| 1 | Cuisinart Air Fryer Toaster Oven, 1800W, 8-in-1 with Air Fry, Convection, Broil & Warm, 0.6 Cubic Feet, 60-Minute Timer, TOA-70NAS, Stainless Steel |

|
| 2 | Ninja Air Fryer Toaster Oven Combo | 8-in-1 Functionality | Flip Up & Away for Storage Space | Air Fry Basket, Sheet Pan, Wire Rack & Removable Crumb Tray |1800 Watt | Stainless Steel | SP151 |
|
| 3 | BLACK+DECKER Crisp 'N Bake Air Fry Countertop Convection Toaster Oven, Medium Capacity, 4-Slice, 5-in-1, Fits 9” Pizza, 30-Min Timer, Bake, Broil, Air Fry, Toast, Keep Warm, Stainless Steel |
|
| 4 | BLACK+DECKER Crisp 'N Bake Air Fryer Toaster Oven Combo, 12 in 1 Countertop Convection Oven Cooks Food Fast, Fits a Whole Pizza or 6 Toast Slices, French Doors with Stainless Steel Finish |
|
| 5 | Emeril Lagasse Extra Large French Door Air Fryer Toaster Oven Combo, 24 Cooking Functions and Digital Controls, 7 Accessories Included, Stainless Steel Finish, 26QT Capacity |
|
| 6 | Breville BOV900BSS Smart Oven Air Fryer Pro and Convection Oven, Brushed Stainless Steel |
|
| 7 | Ninja Air Fryer & Toaster Oven Combo | 10-in-1 Prestige Smart XL Countertop Oven | Bake up to 20 Cookies, Fit up to a 12lb Turkey | Pizza, Toast, Bake, Dehydrate | 1800 Watt | Stainless Steel | DT501 |
|
| 8 | BLACK+DECKER TO3250XSBD 8-Slice Extra Wide Convection Countertop Toaster Oven, Includes Bake Pan, Broil Rack & Toasting Rack, Stainless Steel/Black |
|
| 9 | Elite Gourmet ETO-4510M French Door 47.5Qt, 18-Slice Convection Oven 4-Control Knobs, Bake Broil Toast Rotisserie Keep Warm, Includes 2 x 12" Pizza Racks, Stainless Steel |
|
| 10 | Gourmia French Door Air Fryer Oven - 37 Qt Large Capacity Convection Toaster Oven, FryForce 360°, Digital Display, 12 Cooking Presets, Dehydrate, Fits 13” Pizza, Dishwasher-Safe, Stainless Steel |
|
Step-by-Step Solutions: How to Fix a Loose Oven Door
Before you grab your toolbox, always ensure your oven is cool to the touch and, for electrical components, consider unplugging it from the power outlet for safety.
1. Inspect and Clean the Oven Door Gasket
The gasket is often the easiest component to inspect and clean. This is usually a simple DIY fix that can significantly improve your oven’s seal.
- Locate the Gasket: Open your oven door and examine the rubber or silicone seal running along the perimeter of the oven cavity or the door itself.
- Check for Damage: Look closely for any cracks, tears, brittle spots, or areas where the gasket appears flattened or twisted. A healthy gasket should be plump and flexible.
- Clean Thoroughly: Use warm, soapy water and a soft cloth to meticulously clean the entire gasket and the channel it sits in. Remove any baked-on grease, food particles, or sticky residue that might be impeding the seal. A dirty gasket is a common cause of heat leakage.
- Assess After Cleaning: After cleaning, close the door. Does it feel tighter? If the gasket is still visibly damaged or stiff, it likely needs replacement.
2. Examine and Tighten Oven Door Hinges
Loose or dirty hinges are another frequent cause of a sagging or improperly closing oven door.
- Open the Door Fully: Carefully open the oven door as far as it can go to expose the hinges, usually located at the bottom of the door.
- Clean the Hinges: Use a stiff brush or an old toothbrush to remove any accumulated grease, dirt, or carbonized food around the hinge mechanisms. Lubrication with a high-temperature, food-safe lubricant can sometimes improve their action, but check your oven’s manual first.
- Tighten Screws: Look for any visible screws securing the hinges to the oven frame or the door itself. Using a screwdriver (Phillips or flathead, depending on the screw type), gently tighten any loose screws. Be careful not to overtighten, as this could strip the threads.
- Check for Bends or Damage: Visually inspect the hinges for any signs of bending, rust, or other damage. If a hinge appears significantly bent, it may need to be carefully straightened or replaced. Some hinges have a “locking tab” or “hinge latch” that needs to be flipped or rotated when removing/reinstalling the door. Ensure these are correctly set if you’ve recently removed the door.
3. Check for Obstructions and Door Alignment
Sometimes, the simplest explanations are the correct ones.
- Remove Racks and Trays: Take out all oven racks, baking sheets, and any other items from inside the oven. Close the door again. If it closes tightly now, an item was likely obstructing it. Ensure racks are inserted correctly and pushed all the way back.
- Inspect the Door Frame: Look along the edges of the oven cavity where the door seals. Is there any build-up, debris, or damage to the frame itself? Clean any residue that might be preventing the door from sitting flush.
- Test for Misalignment: Gently close the door and observe how it meets the oven frame. Does it appear crooked? Is there a wider gap at the top, bottom, or one side? This often points to hinge issues that might require adjustment or replacement. Some YouTube tutorials suggest a technique of putting cloths by the hinges and gently applying inward pressure on the top of the door to realign it. Proceed with caution if attempting this.
4. Address Faulty Latch Mechanisms (Self-Cleaning Ovens)
If your oven has a self-cleaning function, a stuck or faulty latch can prevent the door from closing properly.
- Reset the System: For many self-cleaning ovens, a stuck latch can be reset by simply unplugging the oven from its power source for about 10-15 minutes, then plugging it back in. This can sometimes clear an electronic glitch that keeps the latch engaged.
- Inspect the Latch: If the issue persists, carefully inspect the latch mechanism, usually located near the top of the oven door. Look for any visible damage or debris preventing it from moving freely. Avoid forcing it, as this could cause further damage.
When to Consider Replacing Parts
If the DIY troubleshooting steps haven’t solved the problem, you might be looking at a component that needs replacement.
Replacing the Oven Door Gasket
A damaged gasket is a common replacement part.
- Purchase the Correct Gasket: Ensure you buy a replacement gasket specifically designed for your oven’s make and model. Check your oven’s manual or the manufacturer’s website.
- Remove the Old Gasket: Most gaskets are either friction-fitted into a channel around the oven frame or held by small clips or screws. Carefully pull out the old gasket. If it has screws, you may need to gently pry back the edge to access them.
- Clean the Channel: Thoroughly clean the channel where the gasket sits to ensure a clean surface for the new one.
- Install the New Gasket: Start at a corner or the middle of the top and firmly press the new gasket into the channel, working your way around the perimeter. Ensure it sits evenly and smoothly. If secured by pins or screws, align these carefully. For some models, you might need to butt the ends of the gasket firmly together at the bottom.
- Test the Seal: Close the door and check for a tight seal. A new gasket might feel stiff initially but will soften with use.
Replacing Oven Door Hinges
If your hinges are severely bent, rusty, or have weakened springs, replacement might be necessary. This is a more involved repair, and you should consult your oven’s user manual for specific instructions for your model.
- Gather Tools and Parts: You’ll likely need screwdrivers, possibly pliers, and the exact replacement hinges for your oven model.
- Remove the Oven Door: Most oven doors can be removed by opening them fully, engaging hinge locks (if present), and then lifting them straight up and out of their slots. Some require partial disassembly of the door itself. Refer to your manual for precise instructions.
- Disassemble the Door (if needed): For some hinge types, you may need to remove screws that hold the inner and outer door panels together to access the hinges.
- Remove Old Hinges: Once accessible, unscrew and carefully remove the old hinges. Pay attention to how they are installed.
- Install New Hinges: Position the new hinges in place and secure them with screws. Ensure they are correctly aligned and fully seated.
- Reassemble and Reinstall the Door: Put the door panels back together if you disassembled them. Then, carefully reinstall the door by aligning the hinges with the slots in the oven frame, ensuring any hinge locks are disengaged once the door is in place.
- Test Functionality: Open and close the door several times to ensure smooth operation and a tight seal.
When to Call a Professional Appliance Repair Technician
While many oven door problems are fixable at home, some situations warrant professional help.
- Complex Hinge or Spring Issues: If hinges are integrated into the oven’s internal structure or if springs are difficult to access and replace, a technician has the specialized tools and expertise.
- Warped Door or Frame: If the door or oven frame is physically bent or warped, this is a major structural issue best handled by a professional.
- Electrical or Latch Malfunctions: If the door latch mechanism appears electrically faulty or is severely damaged, a technician can diagnose and safely repair or replace it.
- Lack of Confidence: If you’re unsure about any step of the repair process, or if the problem persists after your attempts, calling a professional is always the safest option to prevent further damage or injury.
- Safety Concerns: Any issues that lead to excessive heat leakage, smoke, or unusual smells should immediately prompt a call to a certified technician.
“A small gap in your oven door can feel like a minor annoyance, but it’s a significant energy drain and can ruin your cooking. Don’t underestimate the impact of a proper seal on both performance and your utility bill.” – Jane Doe, Appliance Repair Specialist at RepairPlus.
Preventative Maintenance for a Tightly Sealing Oven Door
To minimize future issues and extend the life of your oven, adopt these simple habits:
- Regular Cleaning: Keep the oven interior, door, gasket, and hinges free from food spills and grease buildup.
- Gentle Handling: Avoid slamming the oven door or opening it with excessive force.
- Avoid Leaning: Never lean on an open oven door or place heavy items on it, as this can bend or strain the hinges.
- Inspect Periodically: Routinely check your door gasket and hinges for signs of wear or damage. Early detection can prevent larger problems.
Conclusion
A tightly closing oven door is essential for efficient cooking and kitchen safety. By systematically checking the door gasket, inspecting and tightening hinges, and ensuring there are no obstructions, you can often resolve the issue yourself, saving time and money. While many fixes are straightforward, knowing when to call a professional for more complex repairs like a warped door or intricate hinge mechanisms is key. With a little attention and regular maintenance, your oven door will remain securely shut, allowing you to bake, roast, and cook with confidence.
What culinary masterpieces will you create with your perfectly sealed oven?
Frequently Asked Questions
My oven door doesn’t close all the way after a self-cleaning cycle. What should I do?
This is a common issue. Often, the oven’s latch mechanism can get stuck during the high-heat self-cleaning cycle. Try unplugging the oven for 10-15 minutes to reset the electronics. If the problem persists, check for any visible debris in the latch or consult your oven’s manual for specific troubleshooting steps.
How do I know if my oven door gasket needs to be replaced?
You can test the gasket by closing the oven door on a piece of paper or a dollar bill. If the paper slides out easily when the door is closed, the seal is weak and likely needs replacement. You might also feel heat escaping from around the door edges when the oven is hot.
Can I replace oven door hinges myself?
Replacing oven door hinges is a manageable DIY task for many homeowners, but it requires careful attention to your specific oven model’s instructions. You’ll typically need to remove the oven door, unscrew the old hinges, and install new ones. Always refer to your oven’s user manual for detailed steps and ensure you purchase the correct replacement parts.
What tools do I need to fix an oven door?
For most basic fixes, you’ll need a Phillips head screwdriver, a flathead screwdriver, warm soapy water, and a soft cloth or brush for cleaning. For gasket replacement, you might need a new gasket. For hinge replacement, you’ll need the new hinges and possibly pliers.